
Add AirPrint to any printer with a Raspberry Pi + CUPS

I have an old Brother HL-2170W laser printer. It’s bomb-proof, and doesn’t have any weird toner subscriptions, DRM, or whatever else they’re doing to printers these days.
However, it does not support modern protocols like AirPrint, and while it technically has WiFi, the firmware hasn’t been updated in a decade(?) and only supports WEP, so that’s not going to work.
Right now, it’s connected via Ethernet to the AP in my living room, and we just print to it from whichever computer feels like working with it directly that day. But I’d really rather not have a printer in my living room.
Recently, I rediscovered a few Raspberry Pi 1s and realized they’d be perfect to modernize this otherwise excellent printer and turn it into an AirPrint-compatible print server.
Supplies
- Raspberry Pi
Any Raspberry Pi, I used a Pi 1 for this project but a Pi Zero would work great. - If using a Pi 1 or 2: USB Wi-Fi adapter
I already had this one, but any basic adapter should work. - MicroSD card
Needs to be >2GB, I think. I used an 8GB I had lying around. - USB cable to connect the printer
This was the one thing I didn’t have! I ordered 3 for ~$7, and now have 2 for future projects that need old USB cables. - Power supply for the Pi
Should be able to use any usb brick + microusb cable, but I have had issues with some not supplying enough current. If you have issues with the Pi looping on boot, check the power supply.
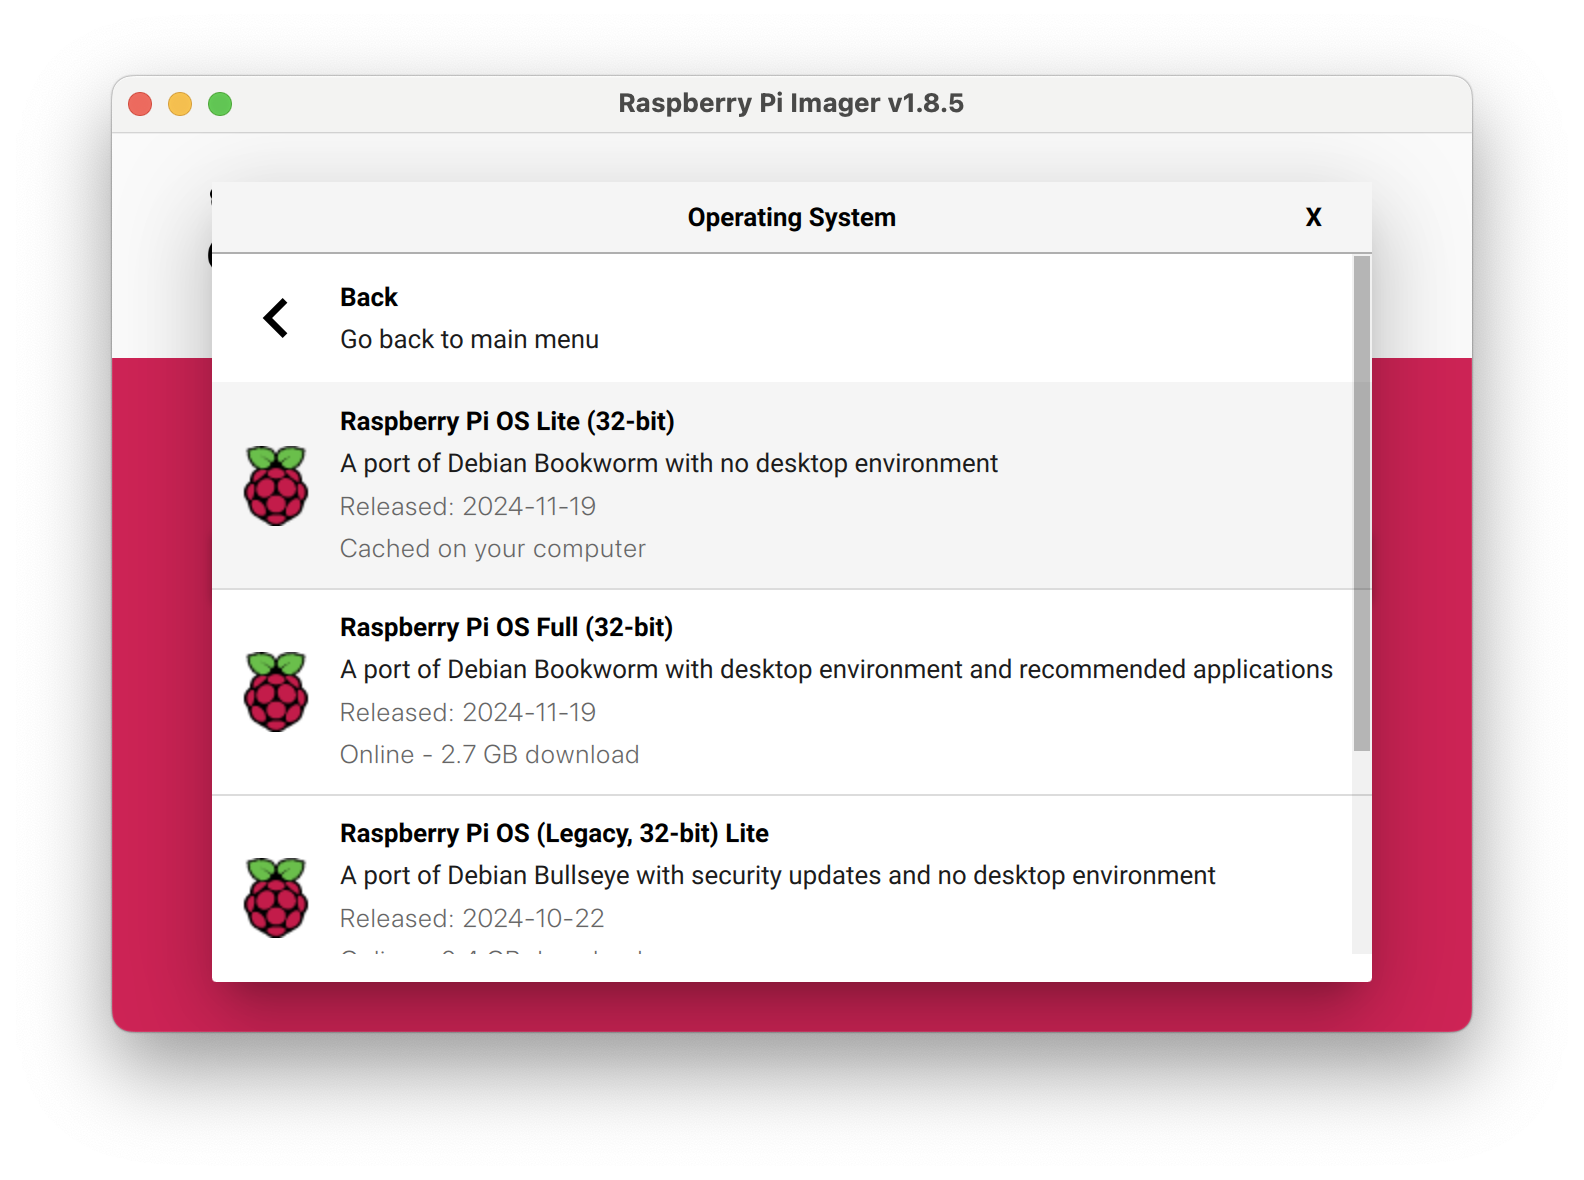
1. Install Raspberry Pi OS (Lite)
Use the Raspberry Pi Imager to install the latest Raspberry Pi OS Lite (click through “Raspberry Pi OS (other)” to get to the lite version) onto your SD card. There’s no need for a full desktop environment for this job.
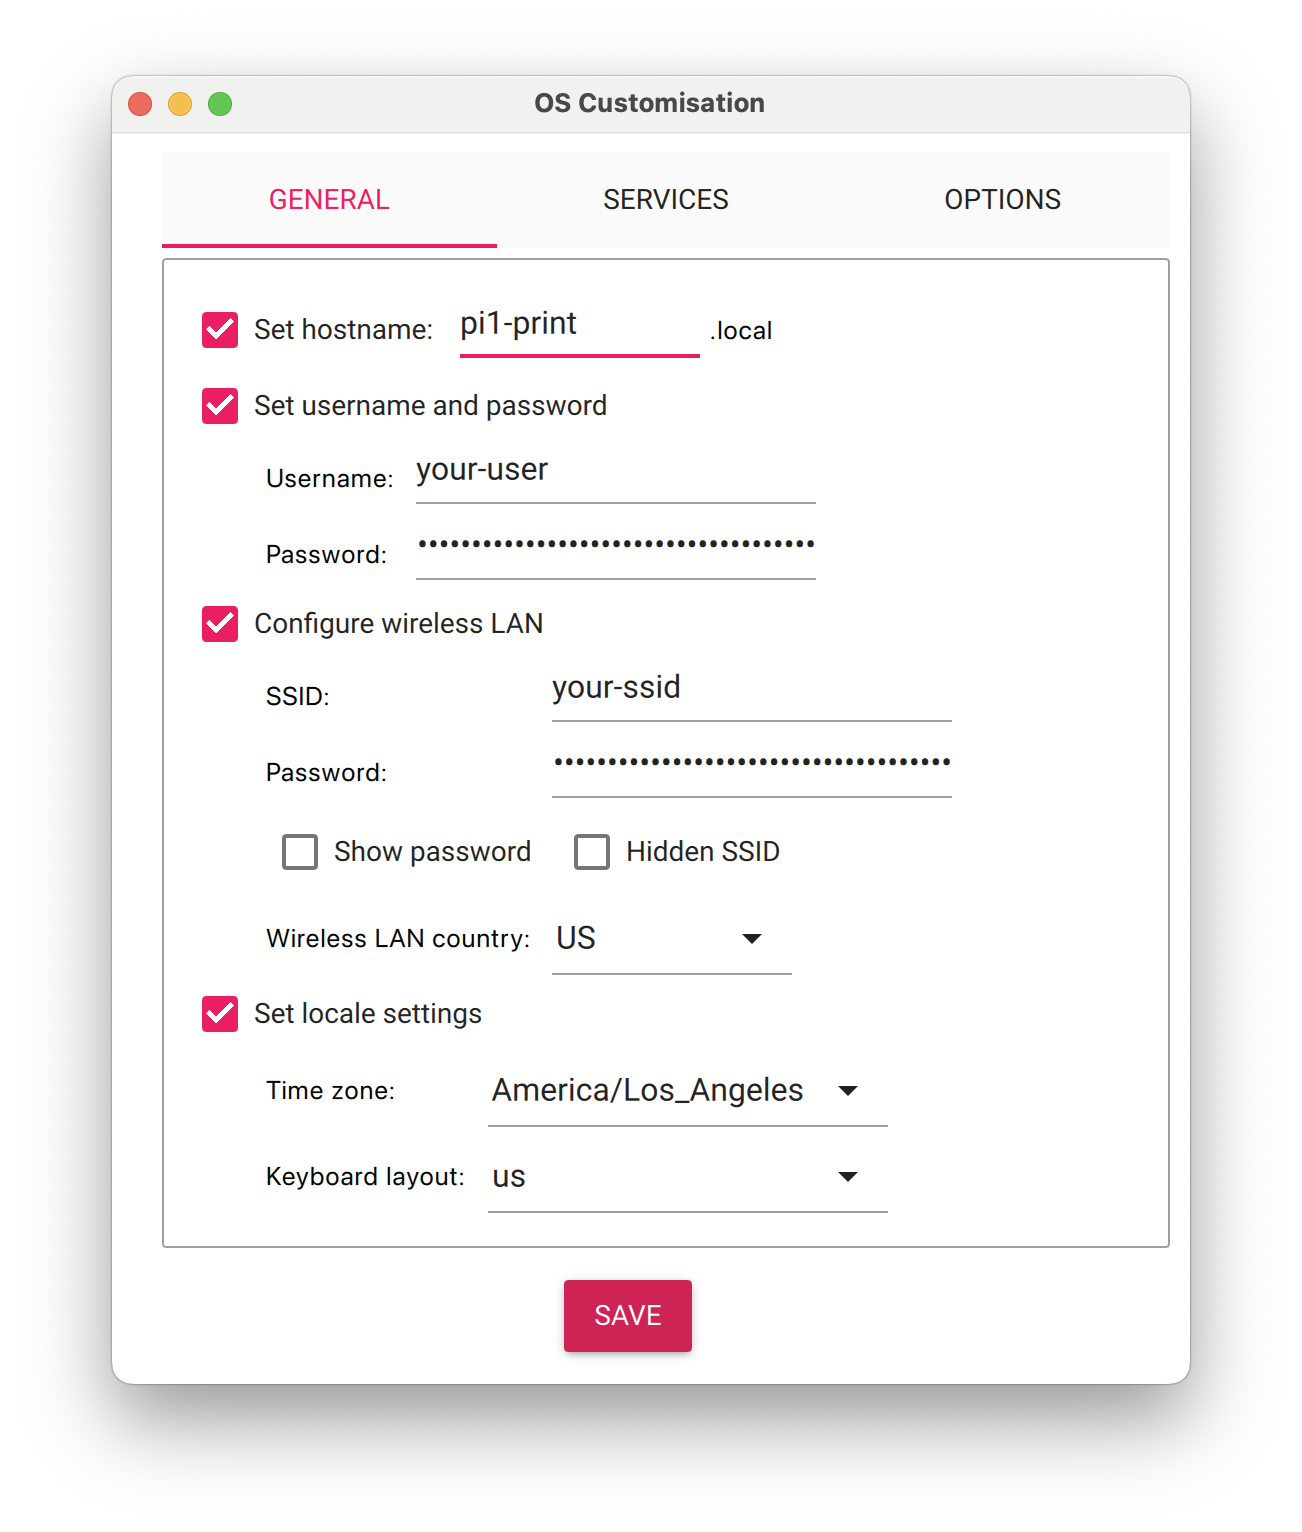
Before flashing, preconfigure some settings:
- Hostname
- User + Password
- Wi-Fi credentials
- SSH public key
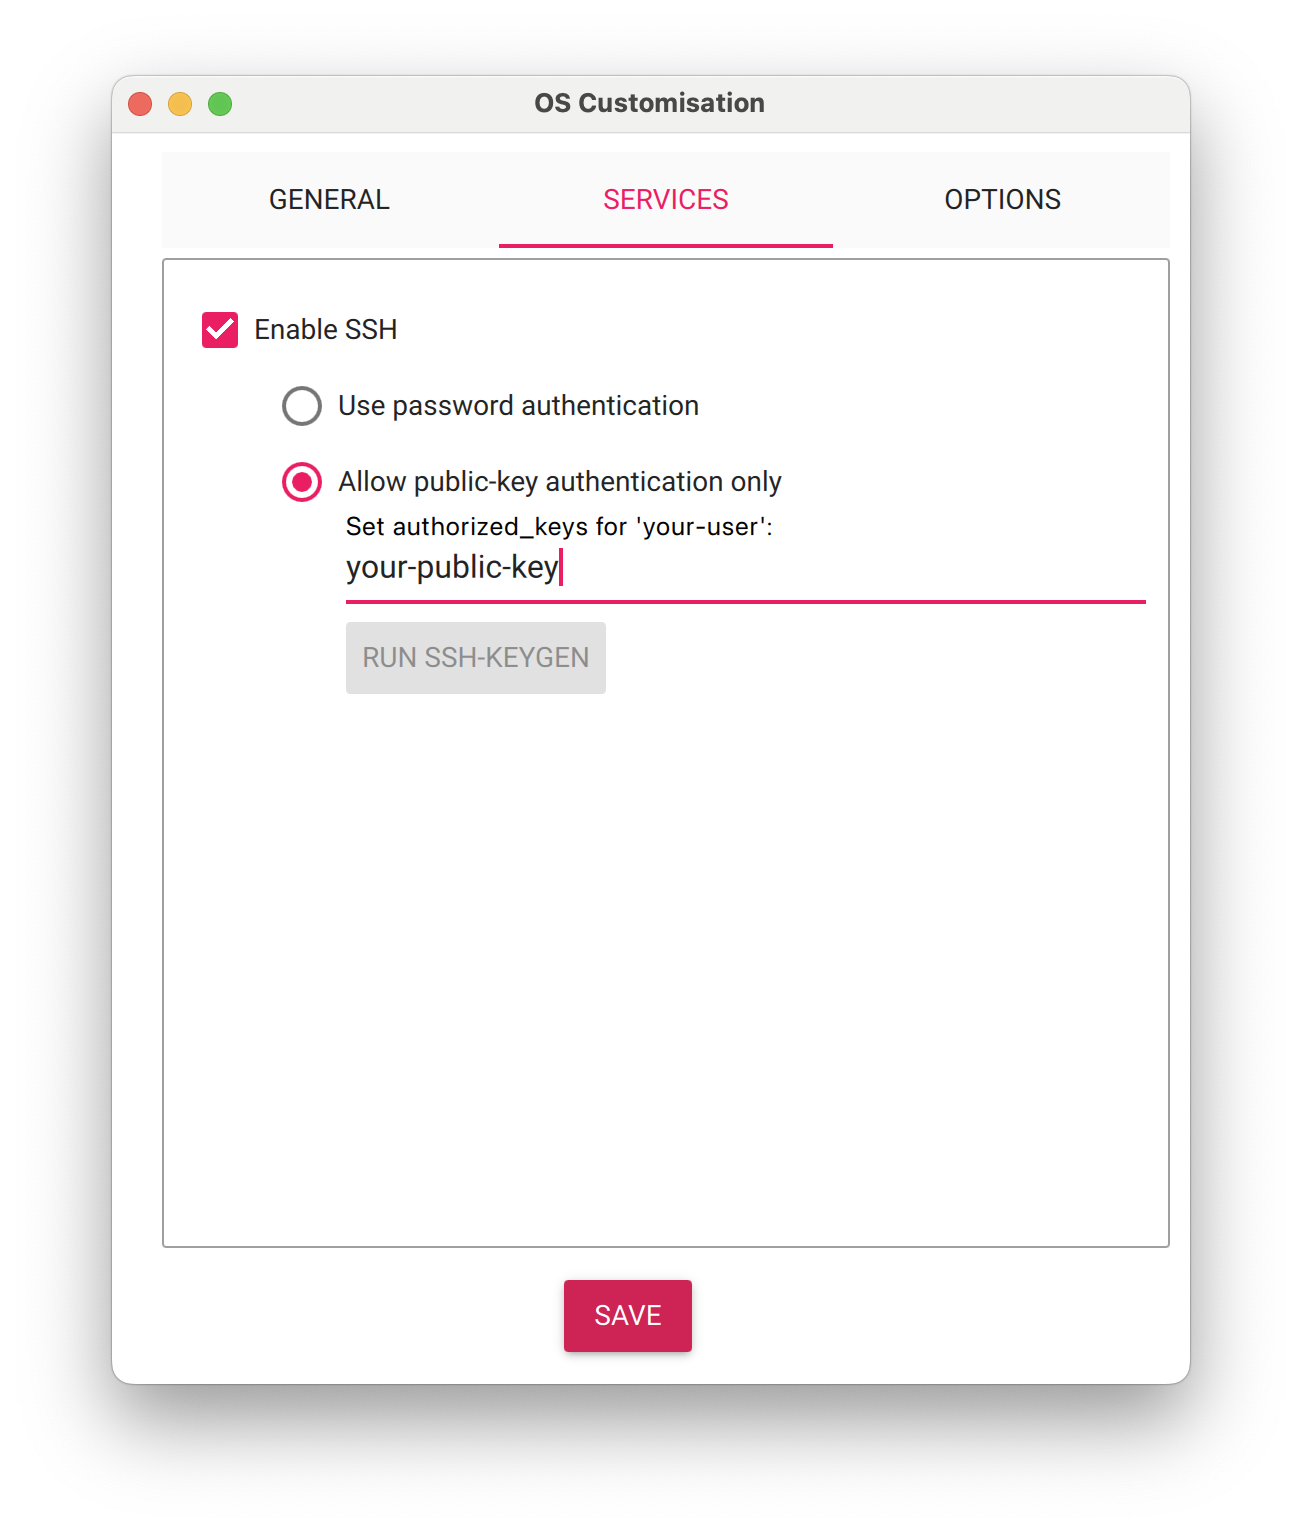
Setting the SSH public key is optional, but really nice to do ahead of time. It looks like you can just click that “RUN SSH-KEYGEN” button and it’ll probably do everythig for you. Otherwise grab your public key out of ~/.ssh (if you already have one).
2. Boot and SSH into the Pi
- Plug the Pi into power and wait for it to boot and connect to the network.
- You can find the Pi’s IP address from your router admin, or try using the hostname you configured:
ssh <your-user>@<hostname>.local
3. Update and Install CUPS
sudo apt update && sudo apt upgrade
sudo apt install cups
sudo apt install printer-driver-brlaser
The printer-driver-brlaser package installs a CUPS-compatible driver for many Brother printers, including the HL-2170.
This process should work for any printer but I only installed the brlaser driver because it’s all I needed. The foomatic-db package contains drivers for many different printers, but I recommend searching for your specific printer and installing only what you need.
4. Configure CUPS
Add your user to the lpadmin group
Add the user that you configured in the Raspberry Pi imager to the lpadmin group so that you can use it to manage printers:
sudo usermod -aG lpadmin <your-user>
Listen and allow access to CUPS web interface on local network
By default, CUPS only listens on localhost. To allow access from other devices on your network:
sudo nano /etc/cups/cupsd.conf
Make these changes:
Listen on local network
Find:
# Only listen for connections from the local machine.
Listen localhost:631
Change to:
# Listen for connections on the local network.
Listen <hostname>.local:631
Allow local network access to admin web interface
Update the following sections:
# Restrict access to the server...
<Location />
  Order allow,deny
  Allow @local
</Location>

# Restrict access to the admin pages...
<Location /admin>
  Order allow,deny
  Allow @local
</Location>

# Restrict access to configuration files...
<Location /admin/conf>
  AuthType Default
  Require user @SYSTEM
  Order allow,deny
  Allow @local
</Location>
Save and exit, then restart CUPS:
sudo systemctl restart cups
5. Access CUPS Web Interface
From another device on the same network, go to:
https://<hostname>.local:631
You will probably get an SSL nastygram from your browser. Tell it you want to go to the website anyway.
- From the Administration page, click “Add Printer”.
- Log in with the system username and password you set up in the Raspberry Pi Imager.
In the Add Printer flow, select these options on each page:
- Select the USB-connected Brother printer. It should be listed as a “Local Printer”.
My printer also showed up (twice) under discovered network printers. In theory you could set this up with the printer connected via. ethernet to your network and get AirPrint support without connecting to the Raspberry Pi via. USB, but that’s not my goal. - Make sure the name/description/location look good, and select “Share This Printer”.
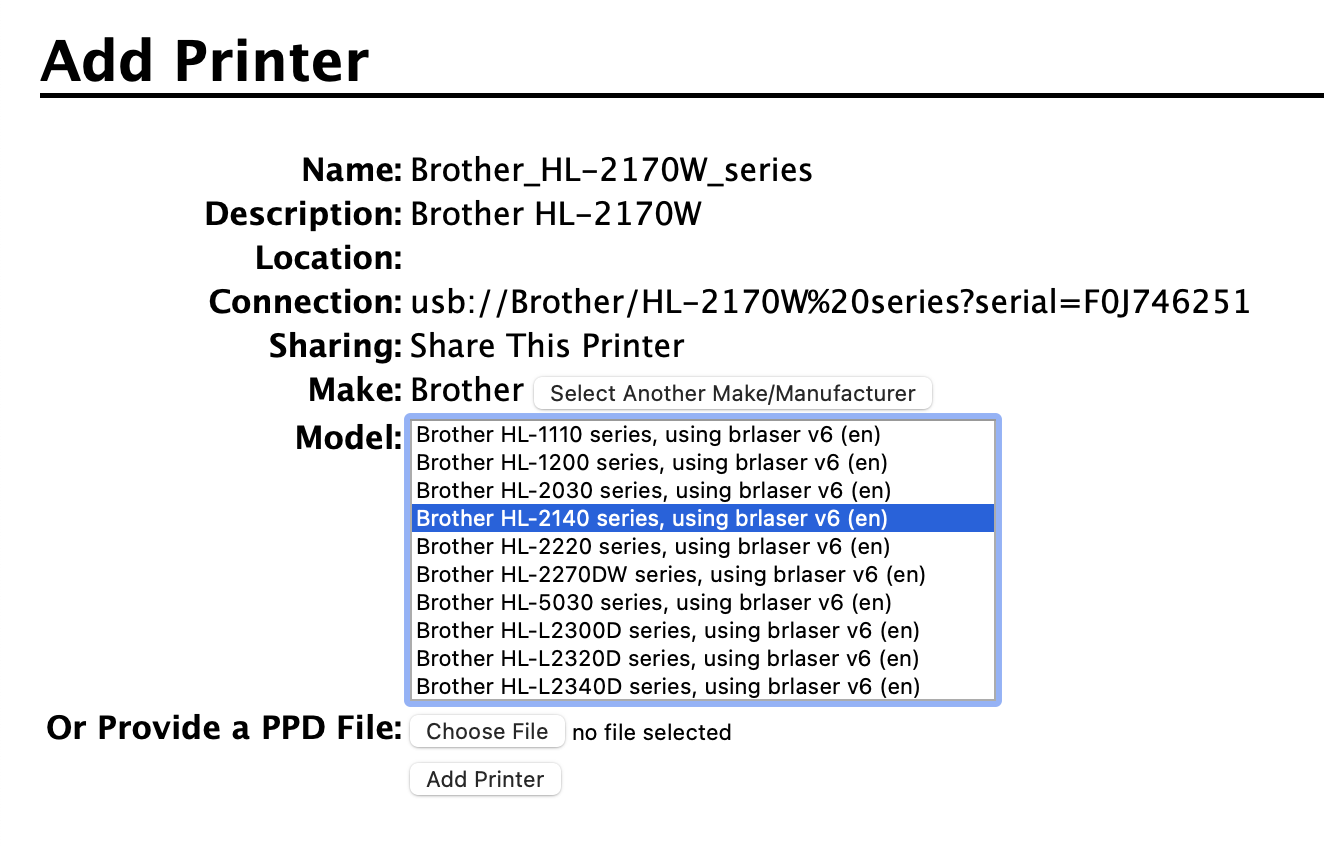
- Choose the closest printer to your specific model, for my
HL-2170WI pickedHL-2140. Unless you installed other drivers it will usebrlaserno matter which model you select. - After clicking “Add Printer” on the final screen, you should see “Printer
has been added successfully."
Continue to “Set Printer Options” and make any appropriate changes. I only needed to set the default paper size from A4 to Letter.
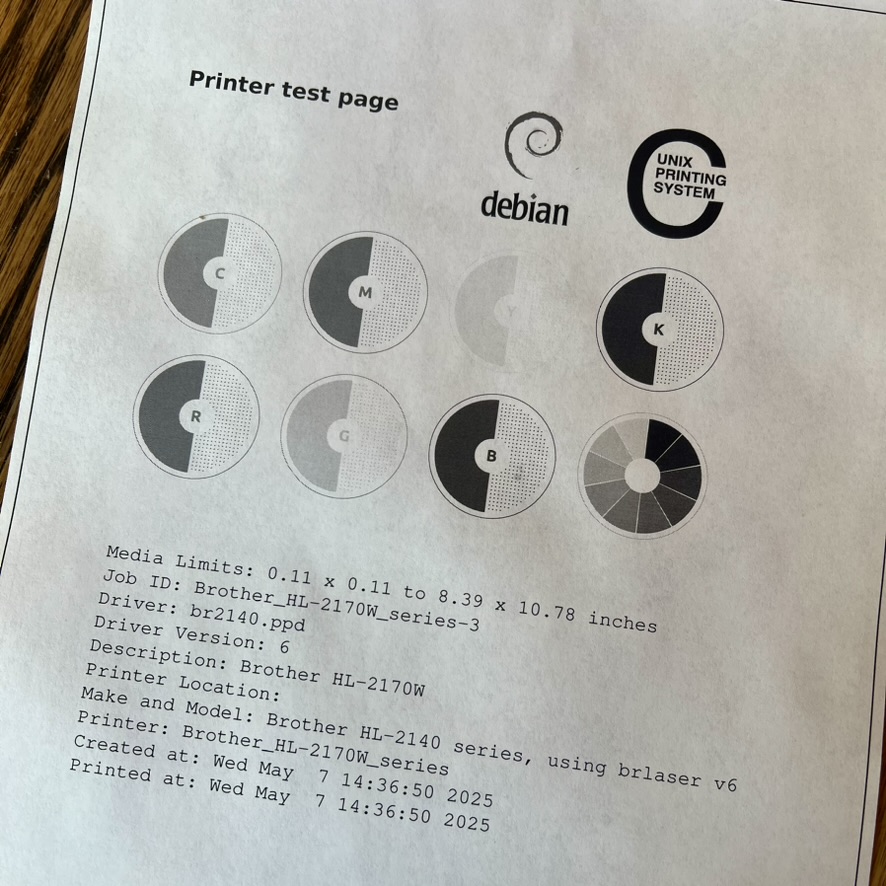
You should now be able to go to the “Printers” section in the CUPS web interface, select your newly added printer, and print a test page! 🎉
6. Fix CUPS on reboot
On my setup, CUPS starts but the web interface and printers are not accessable after reboot — likely because it starts before the network is ready. This means the printers and the web interface aren’t available until the service is restarted.
Restart CUPS when the network comes up
Create a script at /etc/network/if-up.d/cups:
sudo nano /etc/network/if-up.d/cups
Paste this:
#!/bin/sh
sudo systemctl restart cups.service
Then make it executable:
sudo chmod +x /etc/network/if-up.d/cups
This ensures that CUPS is restarted once the network is available.
That’s it!
You should now be able to print via. AirPrint or network printing from devices on your local network.
- ✅ The printer shows up via AirPrint on iPhones and iPads
- ✅ It appears as a network printer on MacOS
- ✅ I can move my printer out of my living room
- ☐ It should also work on Windows/Android/etc, but I haven’t tried…
Reference: This archived post gives a pretty solid walkthrough of similar steps to setting up a Raspberry Pi print server, but I don’t need the full foomatic-db as I’m only interested in setting up my brother laser (for now).